Installing Your ODL Add-On Blinds
Installs quickly and easily over your existing door glass
How to install ODL Add-On Blinds
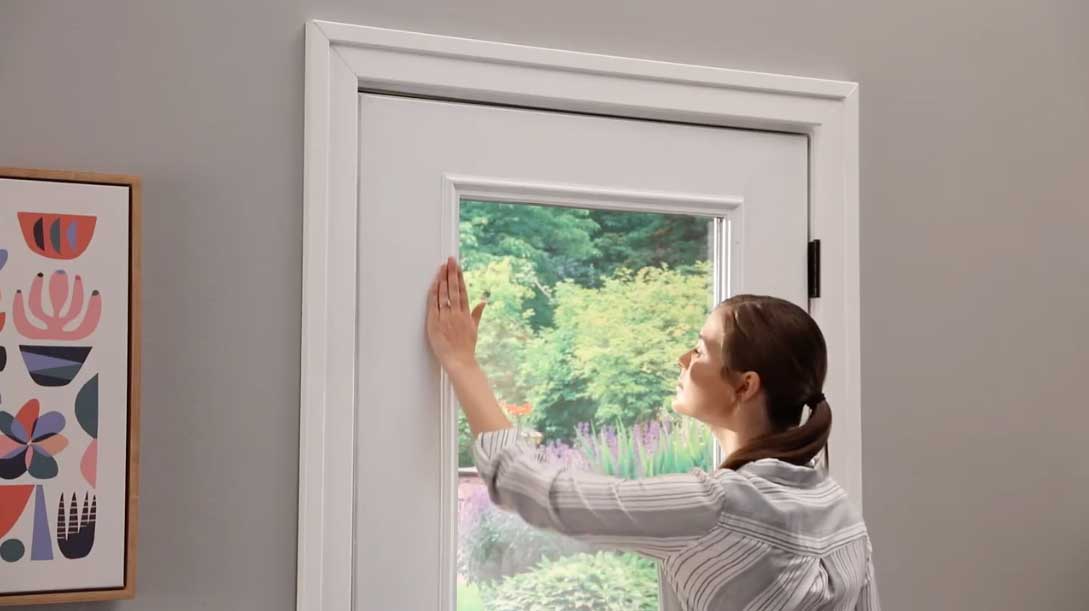
ODL Add-On Blinds for Doors are designed to install quickly and easily over the door glass in your existing exterior door. You'll need just a screwdriver to install the blinds unit on raised frame doors; if you're installing on flush frame doors, you'll need a screwdriver and a drill.
Watch the video to determine your doorglass frame type.
Watch this video for complete installation instructions or download them below.
Installation Instructions
English & Spanish
(1.7 MB) Adobe PDF
French
(1.6 MB) Adobe PDF
English & Spanish
(954 K) Adobe PDF
French
(839 K) Adobe PDF
![Raised-Step-1-Update](https://www.addonblinds.com/hubfs/ODL-AOB/assets/installation/Raised-Step-1-Update.jpg)
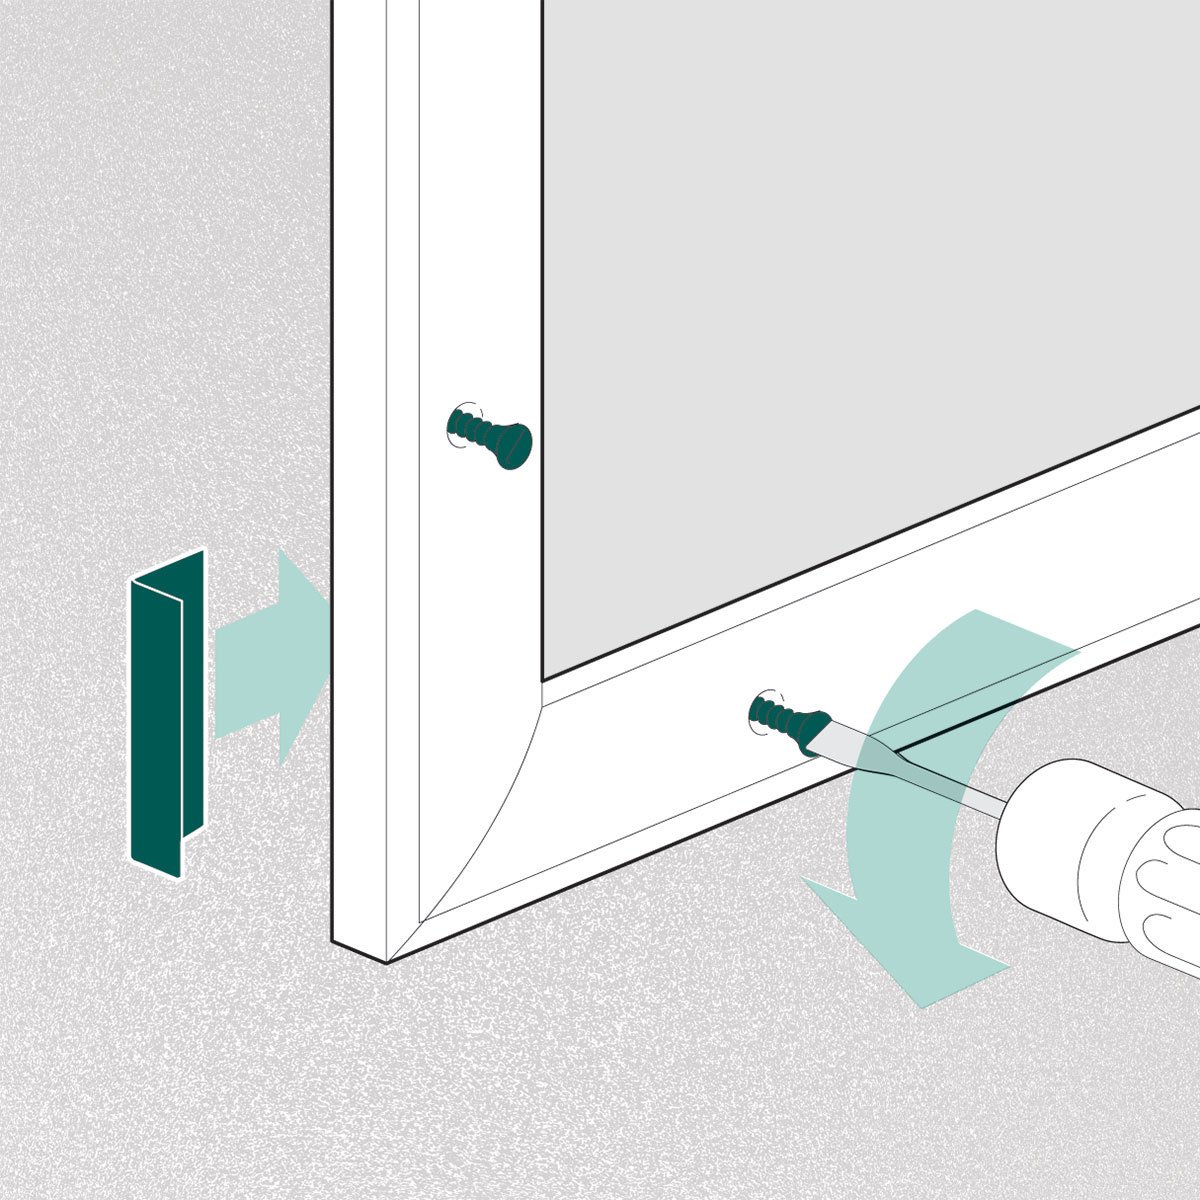
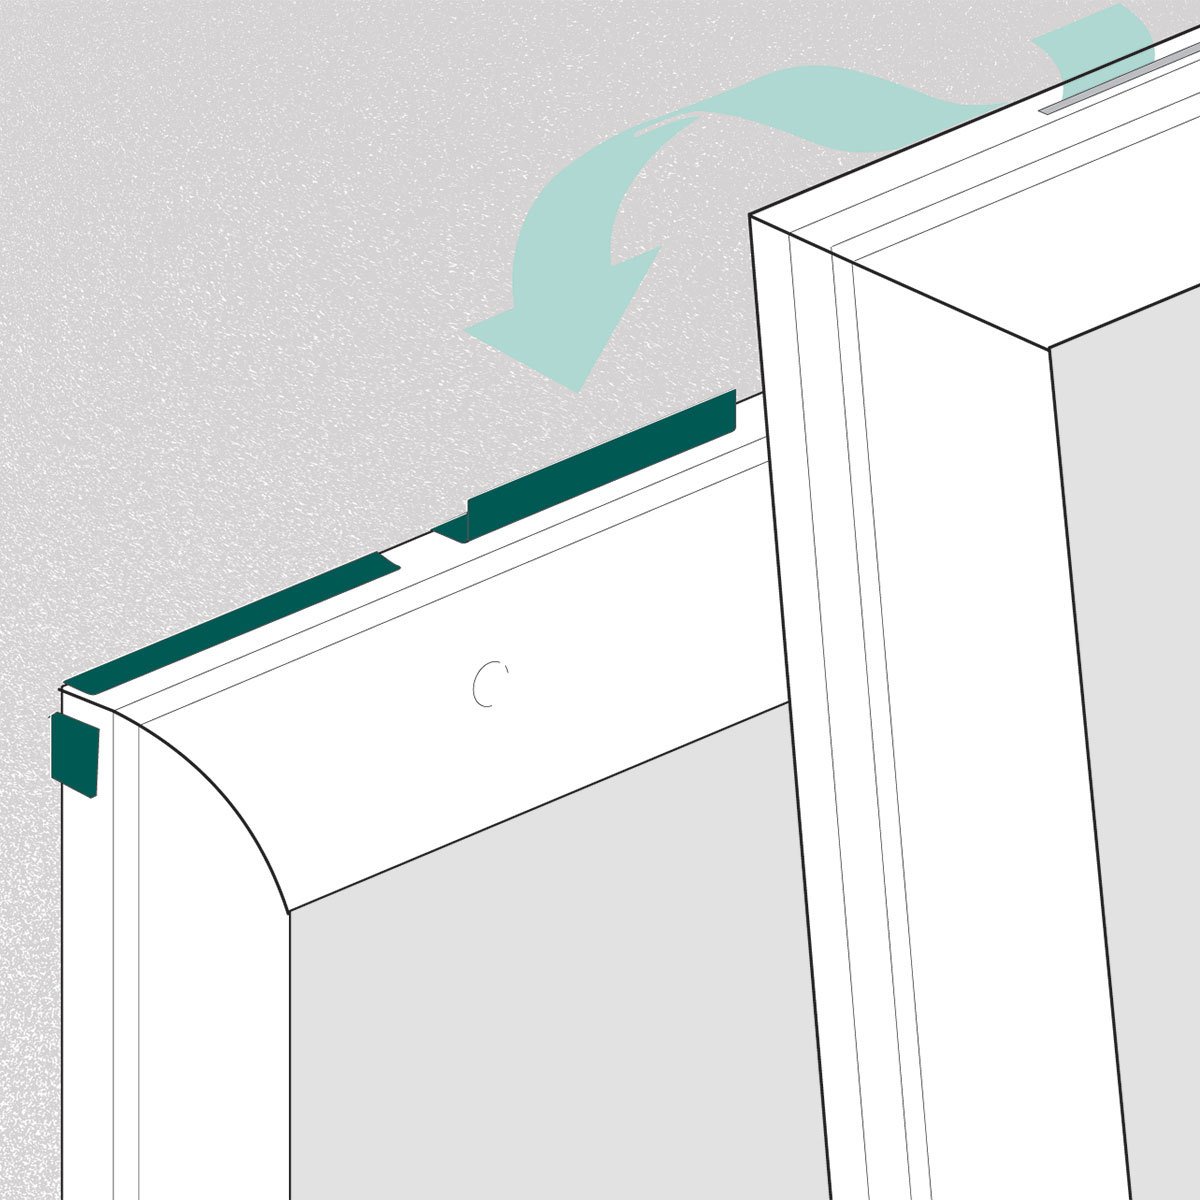
1. Loosen corner screws on the existing door frame
![Raised-Step-2-Update](https://www.addonblinds.com/hubfs/ODL-AOB/assets/installation/Raised-Step-2-Update.jpg)
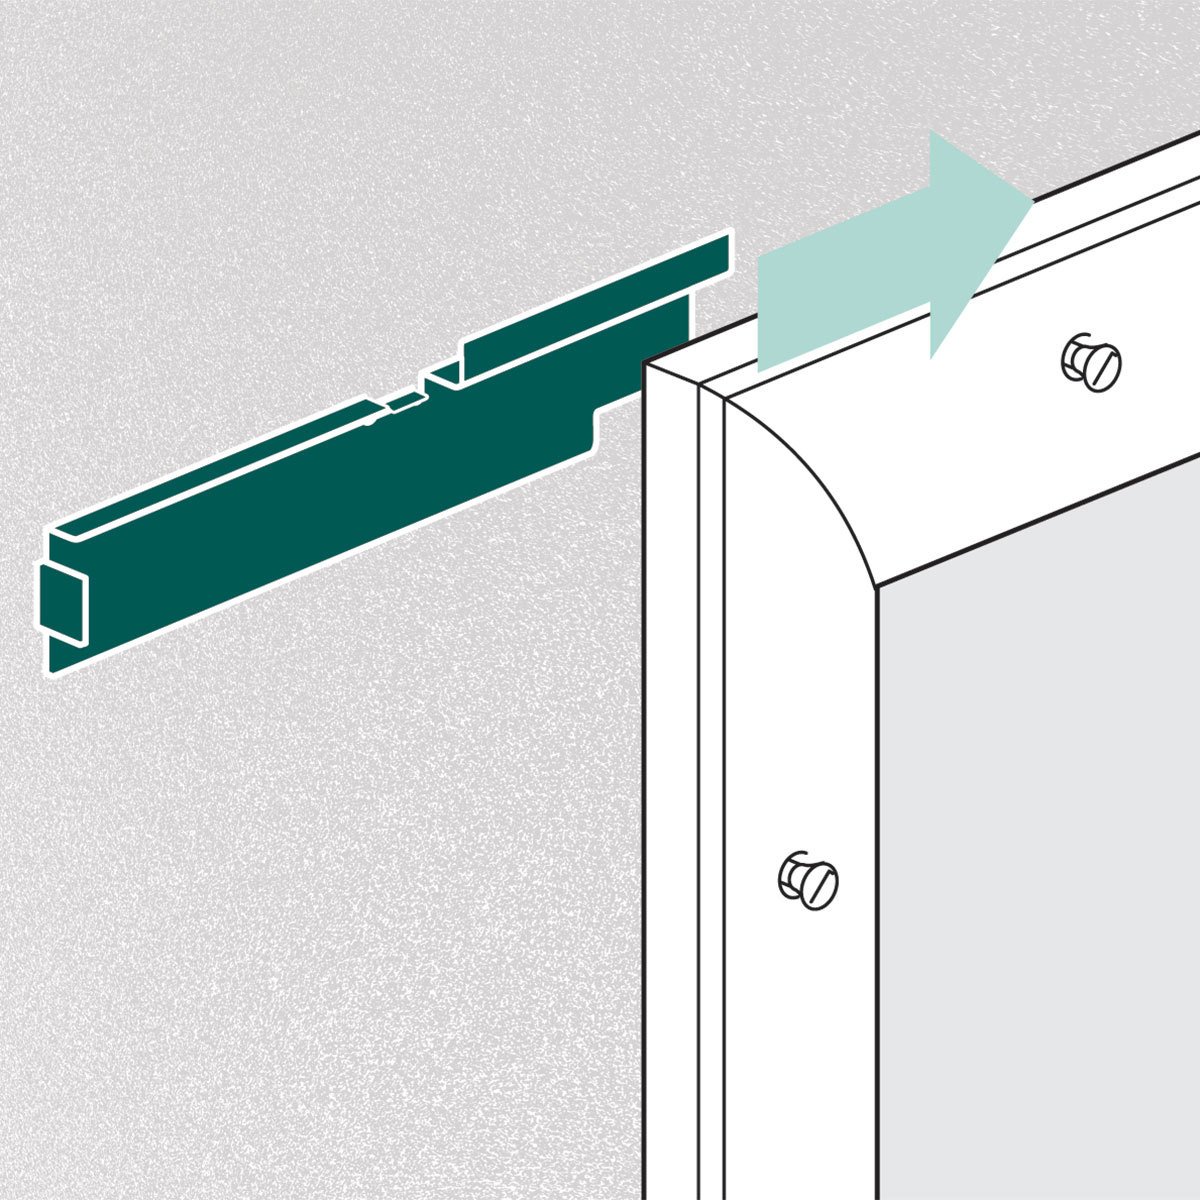
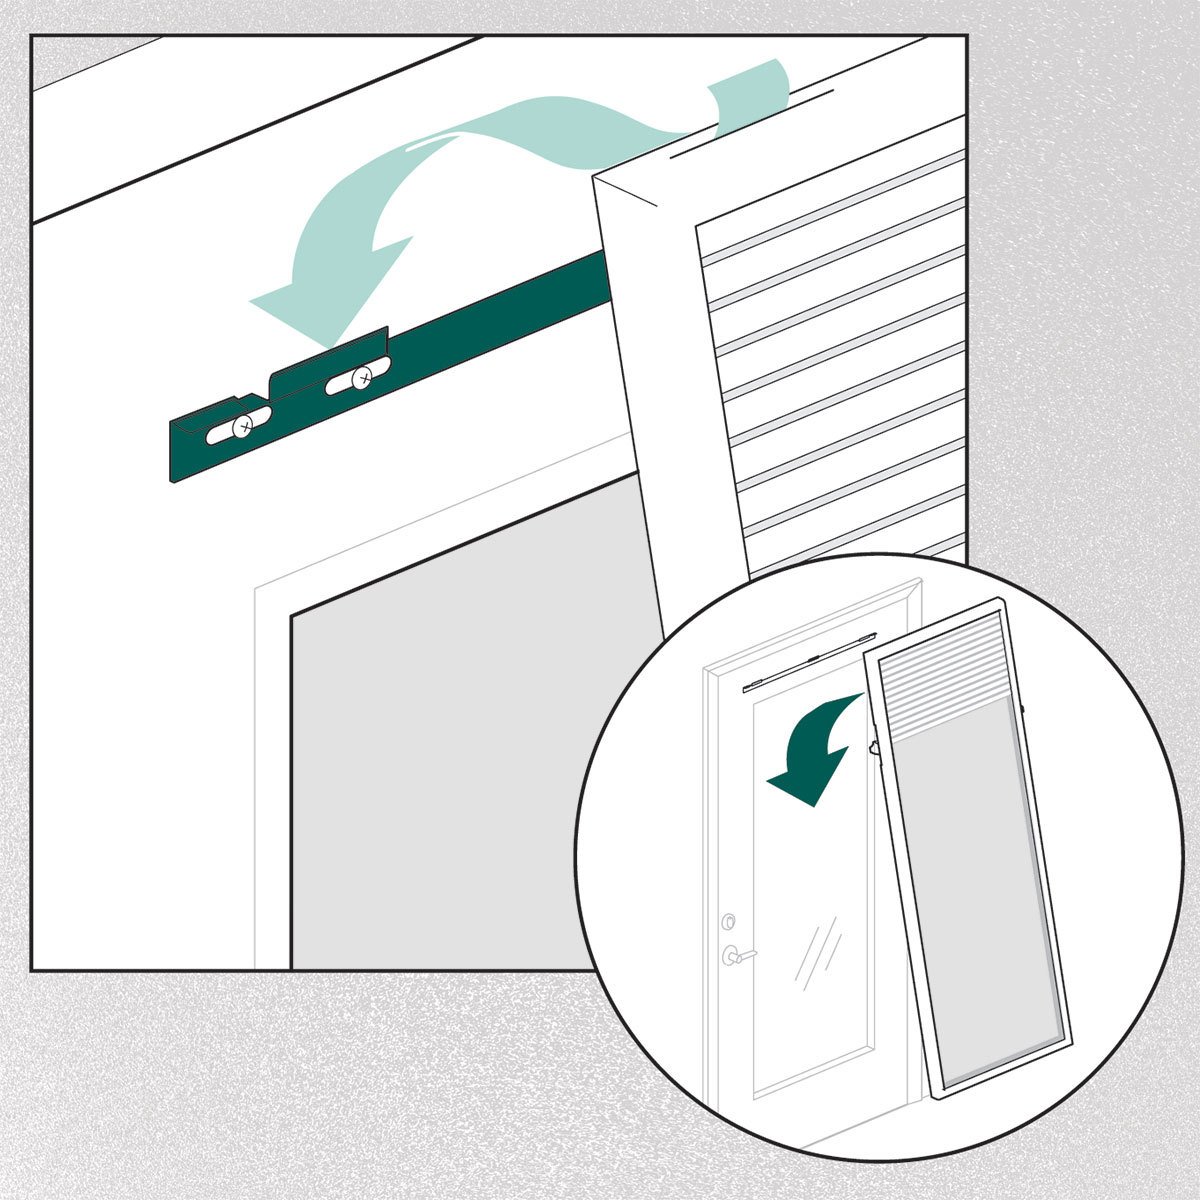
2. Install provided spacers and top brackets, and tighten screws
![Raised-Step-3-Update](https://www.addonblinds.com/hubfs/ODL-AOB/assets/installation/Raised-Step-3-Update.jpg)
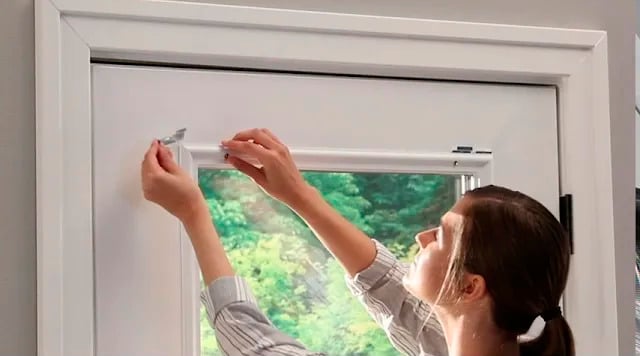
3. Hang the unit on the top brackets
![Raised-Step-4-Update](https://www.addonblinds.com/hubfs/ODL-AOB/assets/installation/Raised-Step-4-Update.jpg)
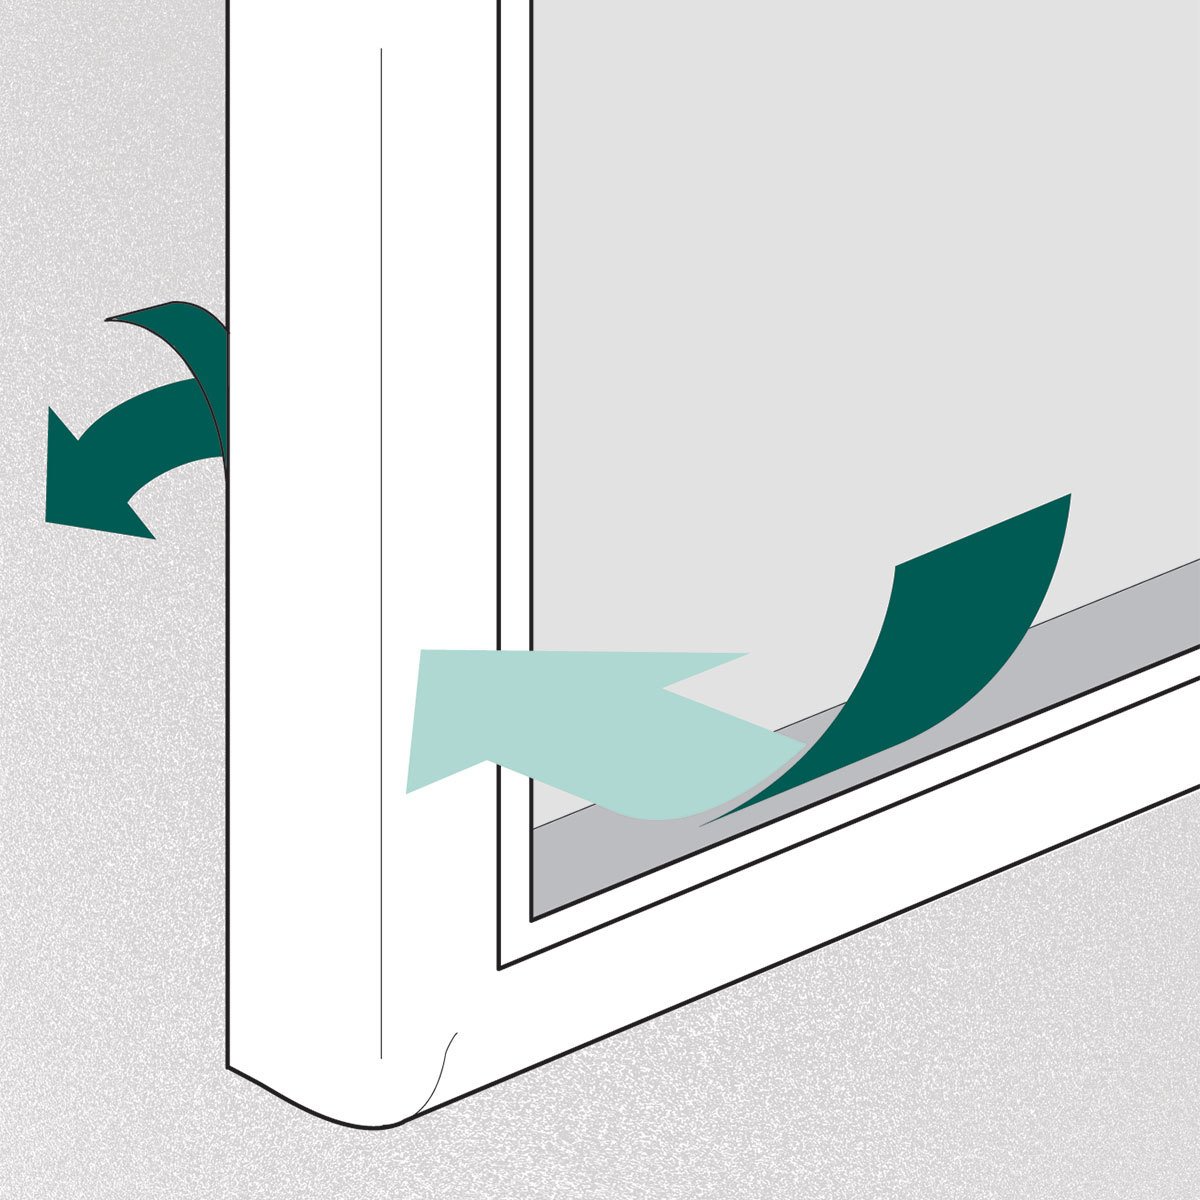
4. Lock the unit's two side clips
Watch this video for complete installation instructions or download them below.
Installation Instructions
English & Spanish
(1.8 MB) Adobe PDF
French
(1.6 MB) Adobe PDF
![Flush-Step-1-Update](https://www.addonblinds.com/hubfs/ODL-AOB/assets/installation/Flush-Step-1-Update.jpg)
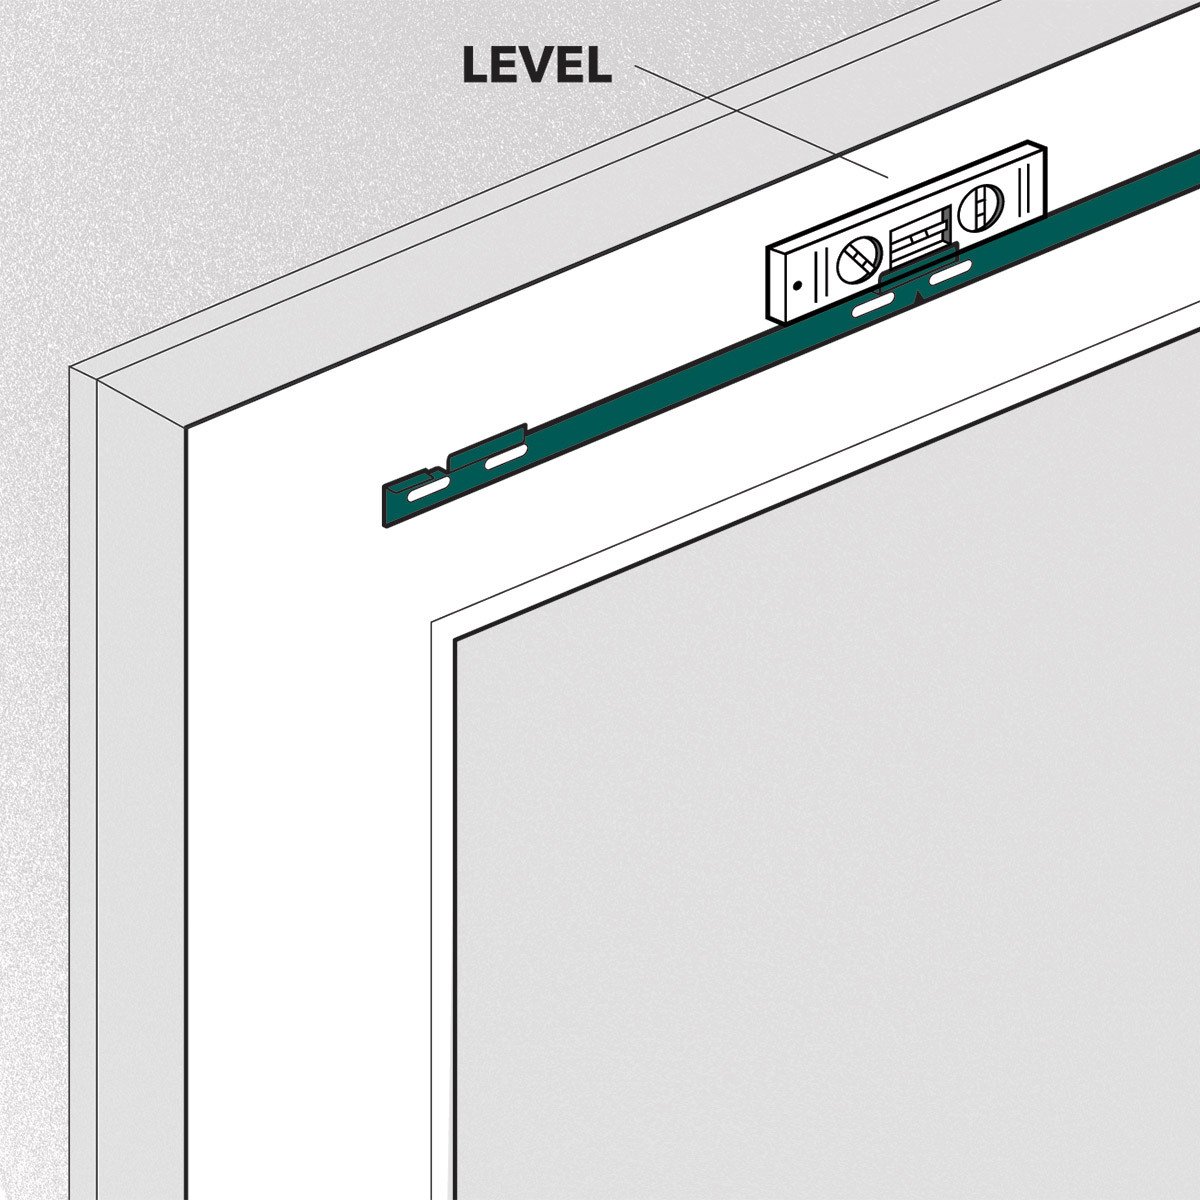
1. Level bracket above the witness line of frame
![Flush-Step-2-Update](https://www.addonblinds.com/hubfs/ODL-AOB/assets/installation/Flush-Step-2-Update.jpg)
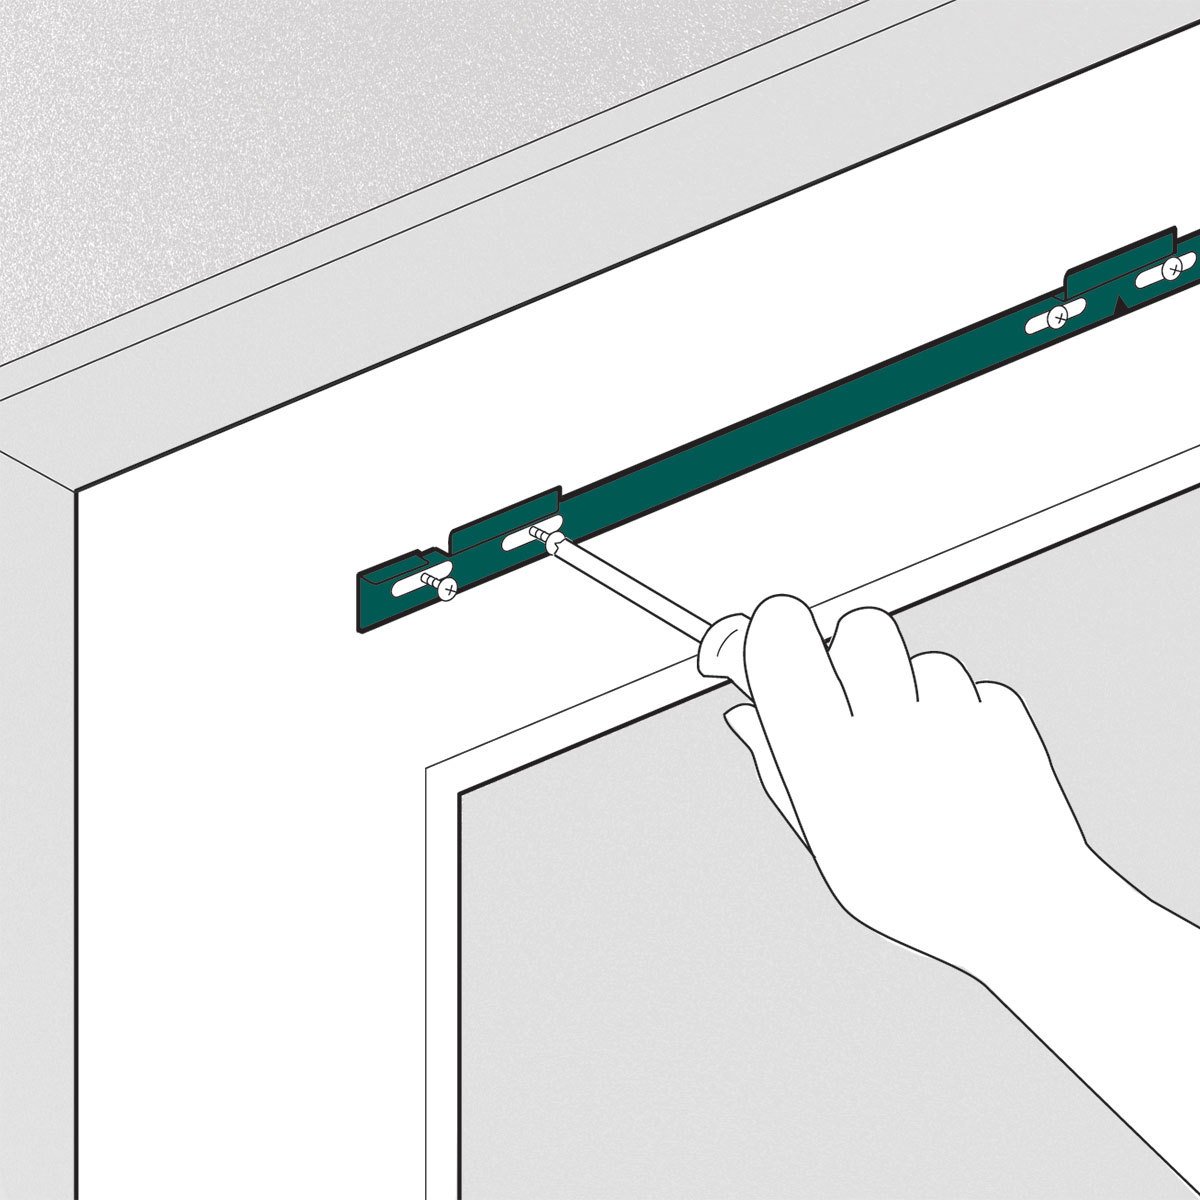
2. Drill pilot holes and screw top bracket into the door
![Flush-Step-3-Update](https://www.addonblinds.com/hubfs/ODL-AOB/assets/installation/Flush-Step-3-Update.jpg)
3. Hang the unit on the top bracket
![Flush-Step-4-Update](https://www.addonblinds.com/hubfs/ODL-AOB/assets/installation/Flush-Step-4-Update.jpg)
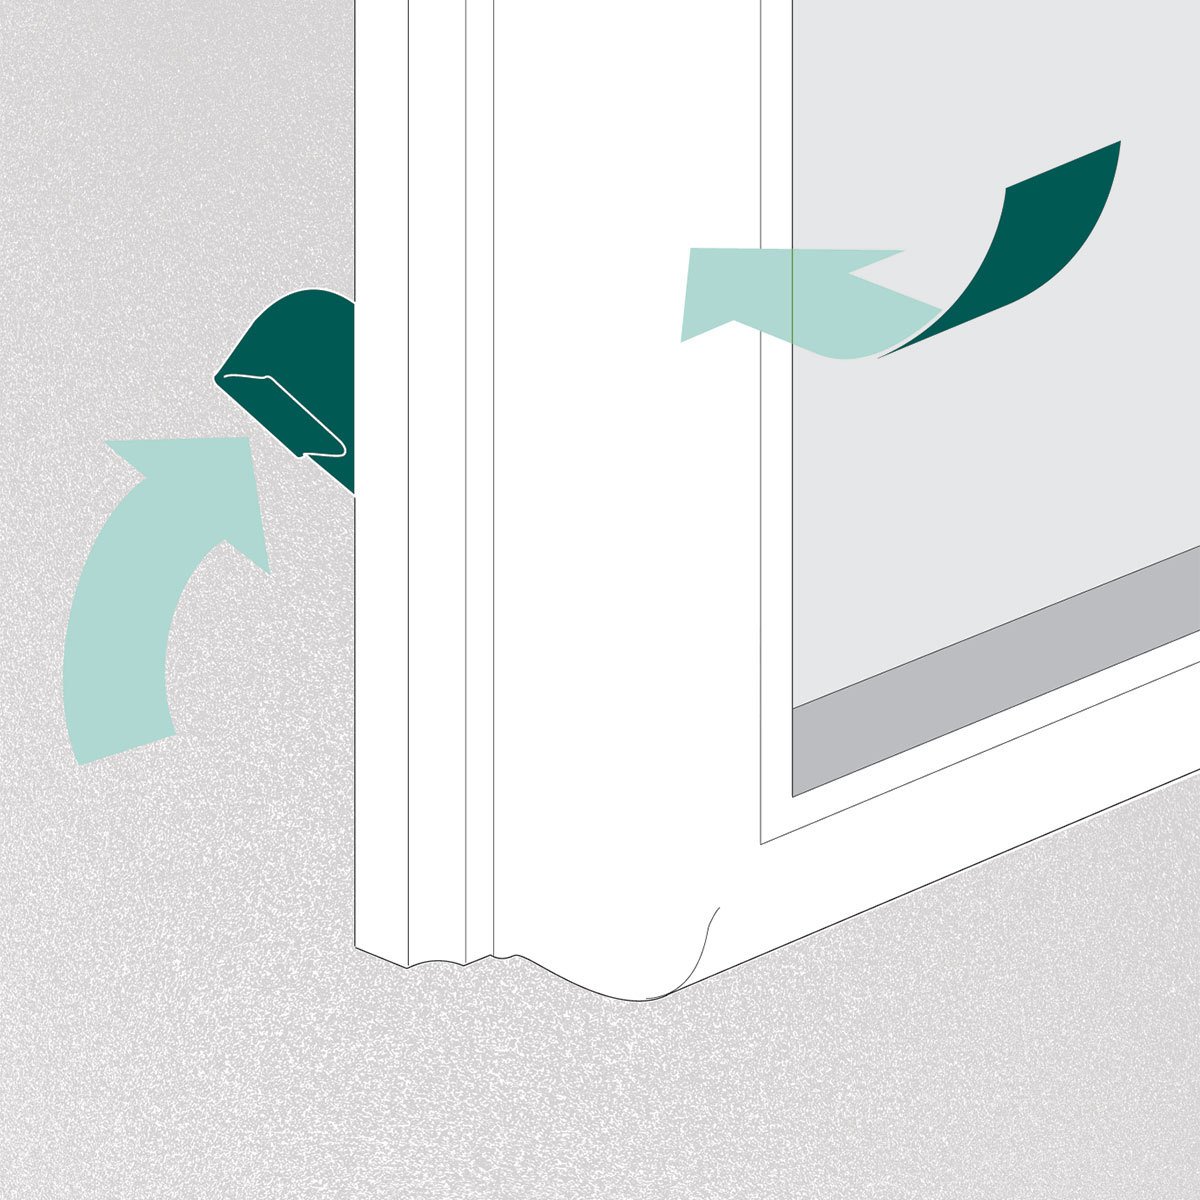
4. Secure lower corners to the door using the unit's peel-off adhesive pads